Thursday, 1 October 2015

Gardening With Kids - Square Foot Gardening

Had a couple of people discussing gardening with kids and I am a huge supporter of this. I think it's great to teach children about where there food comes from. Our eldest girl is four (nearly five) and is right into growing! Hurray! Our youngest is only just turned one, so at the moment she has more worries about how to get the food into the mouth, rather than all over the face, than where it comes form in the first place!

Our little ones are (will be) taught about it all, not just fruits and veggies but also meat. We already have chickens for eggs and we do eat the young cockerels when there are too many. We will also be sending a lamb or two to slaughter for our freezer. Obviously, I am a meat eater and I have no qualms about eating meat. But I also have no misconception of what is going on. Where I have no problem with eating meat in itself I do have issue with the welfare of the animal before and during slaughter. Just because an animal is going to be used for food doesn't mean it doesn't deserve respect and to be treated kindly and fairly. This is what I will teach my children. I will teach them that it is not wrong to eat meat, it's a choice, like choosing not to, but it IS wrong to mistreat an animal anyway during its life and death.

Sort of went off on a tangent there! At this moment we are talking about the slightly less controversial topic of fruit and vegetables. Why do I teach them about growing fruit and veg? Well, firstly because it's fun! Watching things grow. Making them grow! And then being able to see, literally, the fruits of your labour! Then you can eat them! The second reason is to show them how much effort it takes to grow, even a small amount, of food. Help them understand how long someone, somewhere, has to work in order to provide them with things to eat.

It's not about preaching to them but I think that the more we understand about how things are done the better! And that counts for me too. I'm a question asker and never turn down a tour. I recently got to look round the dairy farm over the road. I asked about everything from the cows, to breeding them, to milking, to the computer system they use to track the cows and milk amounts! Do I want to start a dairy? Nope. But I like to understand the jobs and lives of others. It's a bit like the old saying of walking a mile in someone else's shoes, learning about other people's lives makes you a more understanding person, I think anyway!

So, my daughter was learning about seeds at nursery, in a very basic way and she had also learned, at our local Science Centre, the science of how a seed works. Well, after the nursery topic was over home she came with the Broad Bean plant she had grown herself. And very proud she was too! It spent a while on our windowsill but it longed for more!

I had been investigating square foot gardening and I wanted to give it a try so I saw an opportunity. A square foot garden would be a great way for her to plant many different vegetables and also a small area to avoid her getting bored of the work taking care of it.

For those unfamiliar with square foot gardening it is much as it sounds. You split the garden into square foot sections and plant within those sections. There are plenty of websites on this topic, with planning designs and rotations. I may well do my own in the future but until then I promise you will not go lacking. I can recommend Dave's Square Foot Garden blog for some great inspiration!

Square Foot Garden
Toddler Garden

Our garden was just the one bed and it was four three by three feet, giving us 9 squares to plant in. Initially there were two broad beans, her nursery one and another that I donated. We also planted a potato and a few onions. These were quickly followed by lettuce and spring onions, seed gifts from Grandad that had come free on a bottle of sherry he bought. (Nope we still aren't sure what seeds have to do with sherry, but free seeds are free seeds!). We also added some carrots. These were experimental carrots, and so far, (bar the one featured here) are the only ones to grow!

After a terrible batch of weather, something we have seen too much of this year, one of the Broad Bean plants succumbed. So we replaced it with a cabbage. And added a kale and a cauliflower for good measure.

So, what's actually in there..

  • 1 Potato
  • 1 Broad Bean*
  • 5 Onions
  • Cut and Come Again Lettuce
  • Spring Onions**
  • 1 Kale
  • 1 Cauliflower
  • 1 Cabbage
  • Carrots (multicoloured)

She has been very much enjoying the garden, showing it to everyone who visits. Nibbling on lettuce and spring onions as she passes. We have also harvested some of her broad beans which she enjoyed helping me prepare and insisted on something for tea that would "go with Broad Beans".

All in all I am very pleased with the square foot garden. I think it is something that we should extend in the following years and really make the most of. I feel we have probably not utilised the area to the best, as we had no proper growing plan, but it was done as a fun, mildly educational, experiment and as such has been a huge success.

*Are Broad Beans called Broad Beans in the U.S.? Can someone let me know!

**Spring Onions, for my US readers, are what you call Scallions.


I'll let you know in the future how her garden fared!


Monday, 27 July 2015

New to Ewe & Harvest Monday

Shetland Tup
Just For Ewe

Our handsome tup has arrived!

We picked him up yesterday. We met a wonderful lady, called Sue, who was a fountain of knowledge when it comes to Shetlands, and sheep in general. We learned an awful lot sitting in her kitchen, drinking tea, our children slowly trashing her house.

It sounds corny but I think that sitting talking to someone is a better way of learning than anything that a book or whatever can teach you. You can stop people and say, "what do you mean by that?" or "Explain that again, please." I certainly hope that our Lamb Lady doesn't mind that I might be contacting her regularly with a whole variety of questions as we progress through our first year of shepherding!

We are keeping our boy separate from the girls for now, but near them so he's not lonely. And so far the introductions have gone well. He's a born and bred hill sheep so smallholding life has given him a serious case of the bug-eyes!

"What's this!?"

"What's that?!"

"Where is this?!"

He is joining the goat in her newly created goat paddock, hopefully if it can contain our escape artist goat it can hold this yearling dude. Introductions between goat and sheep where very brief and dignified. I think that an understanding has already been established. He showed off his horns, she replied with "I may no longer have horns but I have stumps and I'm not afraid to use them. And I'm bigger than you." So they both lifted their heads, gave a wink and moved on. That's been it, Mindi is very uninterested in him.

Shetland Sheep
Meeting the Ladies

Our ladies were much more interested in meeting the stud next door. Even if he does chat a lot. They came scooting up the field when I appeared, saw him, ran away! then quickly came back to sniff the new neighbour. Once he realised none of these sheep were sheep he recognised he wandered away, but he came back shortly, realising he had to take what he could get.

I am checking on him at intervals to make sure he doesn't do anything stupid but at the moment I am edging towards positivity that all will go well. It's actually quite scary, worrying that something will go wrong; he'll get in with them or he'll run away! I guess learning anything new is worrying but when it involves living things, that you are responsible for, it kind of ups the anti a bit!

Today is also Monday so that means it's harvest time! The weather today can only be described as stinkin'! It has been raining all day without letting up. But me and the bigger little one headed out and managed to gather these beauties.

Harvest
Broad Beans and Courgettes

A huge amount of Broad beans. The beans at this end of the basket come from my daughter's single plant in her little square foot garden that she has been working on.

Two decent sized courgettes. I've a mind to try a courgette cake or loaf with these!

I think the potatoes will be significant when the time comes and there should be good stocks of onions as well. Just wish we'd get some decent weather to help these poor plants along.

This is my entry in Harvest Monday's hosted by Daphne's Dandelions!

Want to see more harvests? Got bumper beans? A lotta lettuce? Or pots of potatoes? Then head over to Daphne's and add your name to the list and then check out the other harvests!


Friday, 24 July 2015

Our Sheep Get Their First Haircut

Field Of Sheep
Is It Just Us or Is It Chilly Now!?

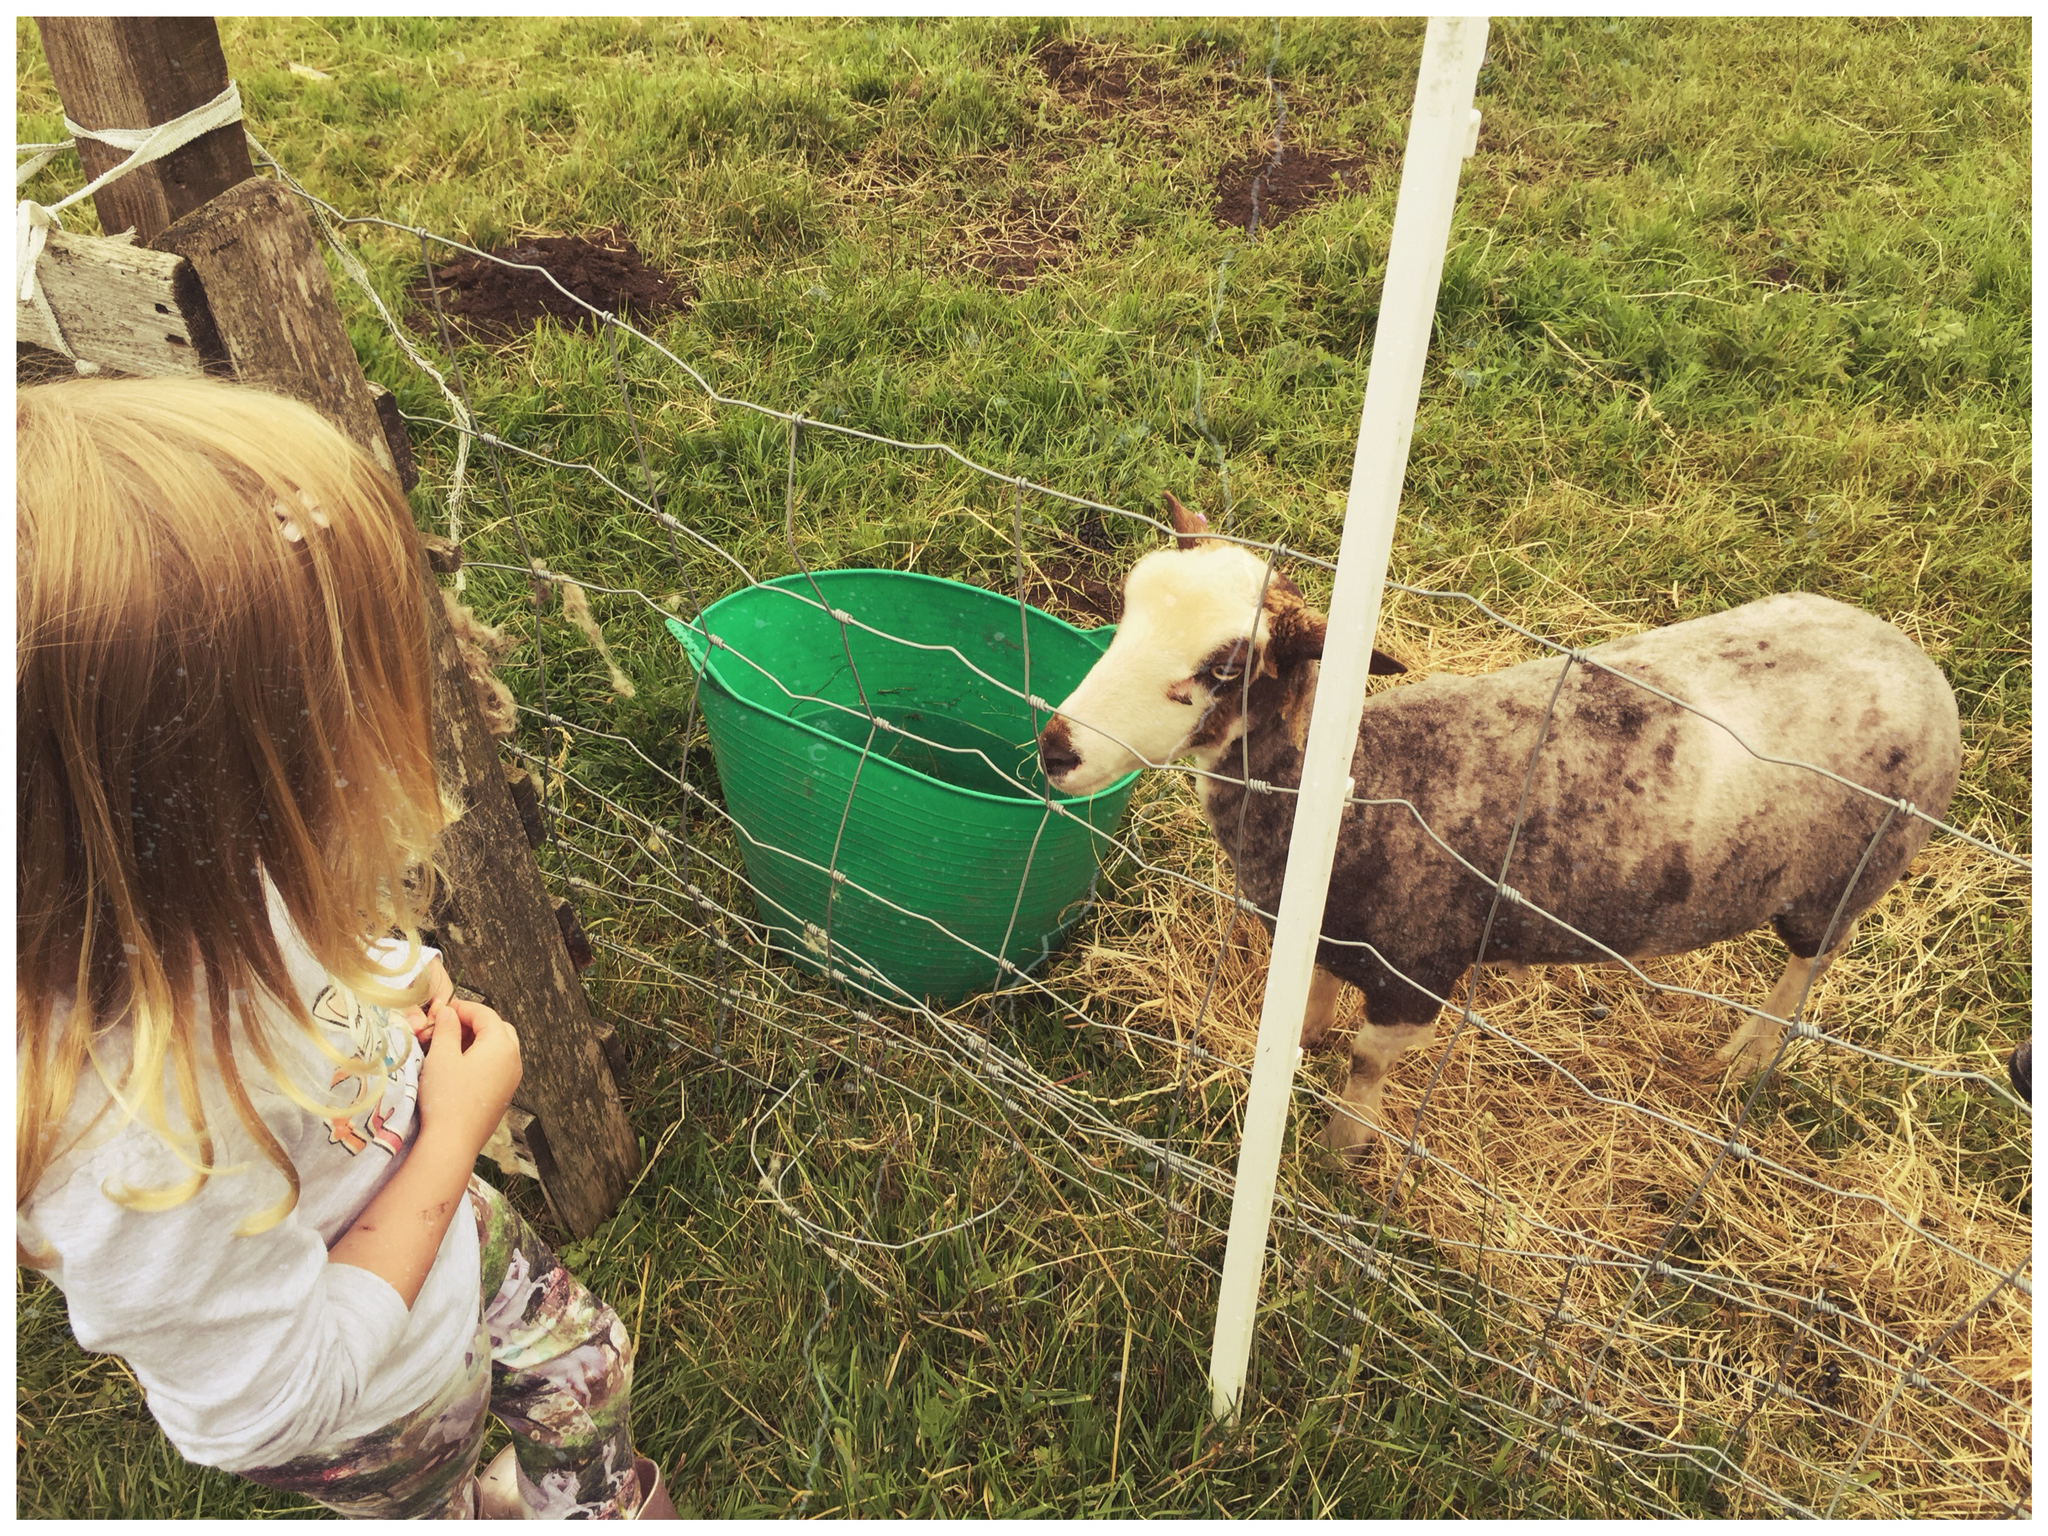
Shearing is not a new thing here on the farm, we have always had to shear the goats, but it was still quite exciting getting the girls sheared for the first time. The local shearer came in, as we are just a small flock he brought a kind of put up shearing station rather than hauling in the big trailer affair reserved for the bigger flocks. And bigger sheep!

The ladies were very well behaved and the whole thing didn't take too long. They looked at me the whole time like "Mum, what is this man doing? We don't want to be upside down. Can't we just go back to the field?"

I wondered how they would take to me next time I appeared with a bucket. They had run in as they usually do, that morning, so well behaved! Would they believe me the next time or think that I was up to something again!

We were left with a big bag of wonderful fleeces. I've only ever seen the Angoras fleeces before and our Angoras were grubby beasts!! These sheep fleeces are all relatively clean and in one big piece. And so soft!

Just need to decide what to do with all the fleeces now. Do we get rid of them or use them for ourselves? My spinning, and for that matter knitting, skills are pretty slim! But I am starting out in needle felting so the fleeces could make a lot of little felt whatsits! Or I suppose a wet felted scarf or something!

Fleeces
All Laid Out

At the moment I just like laying them out and looking at them. I absolutely love the dark brown one, I think whatever happens I'm going to keep that one!

Perhaps I could clean them and make sheep fleece stuffed pillows! I wonder if that would work?

There will be further sheep happenings at the end of this week as we go on a trip to try and find ourselves a tup (breeding ram) for our ladies this year.

Due to the stars aligning wrongly the only date I can't do in August is the date that our local sale is! So we have been scouring the country trying to find a gentleman from local breeders. Join me on my Monday update to find out how we get on.


Wednesday, 22 July 2015

Goats - Now You See Them...

Over the Christmas period we lost our older goat, Cindi. This has meant that Mindi was on her own. With the addition of the sheep it was hoped that she would find friends and peace. Initial introduction went relatively well (if you missed that instalment check it out here).

Well, her friendship turned as she became the sheep/goat equivalent of the Don! A criminal mastermind with a following of minions. She leads them on rampages through fences, into neighbours fields and around vegetable patches. All with an innocent look on her face.

The final straw came when, after we prevented her climbing over and flattening all the fences to allow her posse through, she lifted the fence and took them under. She took them to a small paddock by ours that has a horse and donkey in it.

With only a four year old to help I traded her in with our next door neighbour to get a more useful sheep wrangler. We managed to get them out of the field and onto the road to bring them up to our main gate. Something then scared them so they legged it up the road, past our gate and on. They then nipped into a field owned by our dairy farm neighbour, and disappeared into the distance.

Luckily the farmer in question appeared at that moment and got his quad bike and rounded them up, we brought them back up the road and back into the yard. He then went after the goat who'd given him the goaty finger the last time.

So it has been decided that Miss Goat would be given her own private and (hopefully) goat proofed paddock where she can enjoy life and stop leading the sheep astray. It's right next to the sheep so she still has some company.

So, I thought I'd give you the low down on DIY fencing.

By DIY don't think patched together, I mean it more as being able to put up your own fences without having to pay a contractor. We still use real fence posts, stock wire and fence-post-putting-in-equipment. Just no major heavy machinery. Without heavy machinery you won't be able to put in strainer posts. These are the big fat posts with the diagonal support that are usually at the corners of fields or used to hang gates. But you will be able to make decent fencing enough for smaller farm animals, (even goats, hopefully). We even use it for horses without issue.

The tools you will need are:

  • Sledge hammer or fence post driver
  • Stock fencing or chicken wire
  • Straight, barbed or electrical wire
  • Digging Bar
  • Fencing Pliers and Wire Cutters
  • Fence posts: square or round
  • Fence staples and a hammer
  • Able helpers

What Are All Those Things!?

A fence post driver is a heavy metal tube with a closed end. You place it over the end of fence post and use it to thunk the post into the ground. It's good if you aren't strong enough to lift the sledgehammer repeatedly. We have both but I find a broad shouldered husband and a sledgehammer are the best way!

Fencing
Use A Quality Workforce

Stock fencing or chicken wire. It's a personal choice and dependant on what you are trying to contain. You can buy both in rolls of various sizes so get whatever you need.

Fence posts, again this is a matter of choice. We use both without any real noticeable difference.

A digging bar is a heavy metal pole or spike that is used to make the guide hole for the post.

Straight, barbed or electrical wire. This again is your choice. Many people avoid barbed with 'tender' animals to avoid damage. Electrical is good if you have a power supply.


Fencing
Dunt That Post!

What Do You Do?

Your first step is to choose the line you want your fence, sounds daft but you need to know your line to ensure your fence goes the best possible route. It is also pretty tricky to remove a post once it's in, so you want to get it right.

Next make the pilot hole with your digging bar. Drop the pole from a height to allow it to pierce the ground well. You are looking to sink it around 6 inches into the ground. Once it's in move it side to side to open up the mouth of the hole and allow easy access for the pole.

With the digging post still in the hole is a great time to check your fence alignment. Move back to the beginning of your line of posts and crouch down. Use the bottom of your posts to check alignment not the tops. Unless you are using a spirit level to check uprightness, your posts may not be perfectly vertical so the tops will not give you an accurate line.

Remove the digging pole and insert your post. Then using the sledgehammer or the fence post driver (or husband) to dunt that sucker in! You are trying to get the post in far enough that it is stable, about 1 - 2 feet will work on most ground types.

Rinse and repeat until all posts are in place.

Finished fence
TaDaa!

Once all your posts are in it is time to put up whichever fencing your chosen. Regardless of type the best thing to do is unroll the fencing along the line of the posts before you start fixing. Position the wire on the first post with a few inches to spare and secure with staples. Three should be fine, top, middle and bottom. Then move to the next post and pulling the wire tight. This is where a second person can help and the fencing pliers are a useful bit of kit. Try and get the wire as taught as possible. If using chicken wire this can be a difficult undertaking as it has a tendency to distort. I gave no tips to give on this, I'll update you if I think of any!

Continue along the fence posts securing the wire. When you reach the end cut the wire off, again with a tail end. Then, for both ends, wrap the extra wire around the post and secure with a few more staples.

Your next step is to put on your top wire. It is done the same as the lower wire but obviously requires only one staple on each post. If you are using electric you will need various accessories. I will do a section specifically on electric fencing later on.

Pallet Gate
Place the Pallet Over the Posts

Now, at some point you will need to put in access to your fenced off area, and as I have said without machinery you will struggle to hang a full size gate. If, like here, you will not need access for vehicles then a garden gate would do but here's an up cycling idea: pallets. We use them for gates all the time. For ones that get opened a lot we just lean them against the gap and tie them but this is not really a gate as such, more an optional opening, so we tried something different and more sturdy.

You probably noticed through the photos that we are using round posts for the fence. But that there are two square posts at the beginning. Very simple. Hammer in two posts distance such as to allow a pallet to be slipped over them. This makes a "gateway". It's sturdy but easily removed.

So there you go, the super quick fencing guide from the Dream Farm. Get out there! Fence something in!